|
|
|
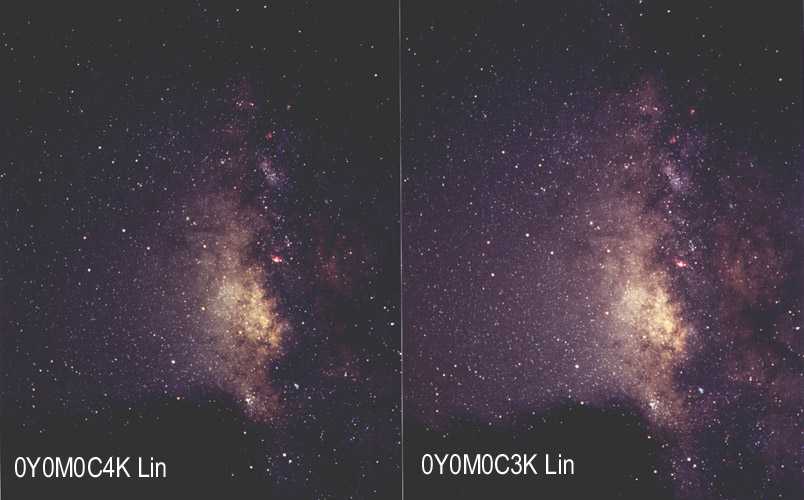
YMCK
The acronym photo developers use for Yellow (Y), Magenta (M), Cyan (C) and Density (K). I am no expert on this matter so I would really appreciate any input from anyone as to how I can better this experiment. This is an attempt to get better photo prints from any regular photo developer. Prior to this, I had to deal with overly dark prints (which show little or no stars) or overly bright prints (which look as if the sky underwent a really bad bleaching experience). My thanks to Kelvin & Patrick of OIS Konica for trusting me to twiddle with the photolab equipment.
| Colour
and contrast are subject to individual visual
preferences. No scientific measure was used to calibrate
false colour imaging in this experiment. Before YMCK Manipulation
|
 |
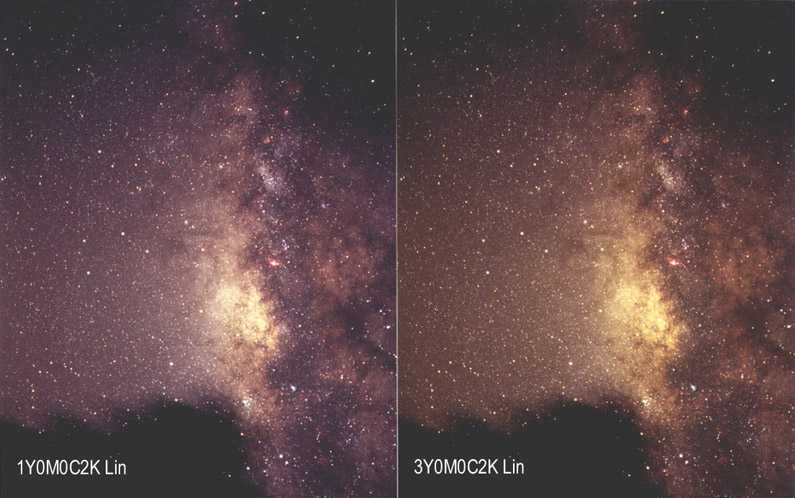
YellowMCK
 |
|||||||||||||
|
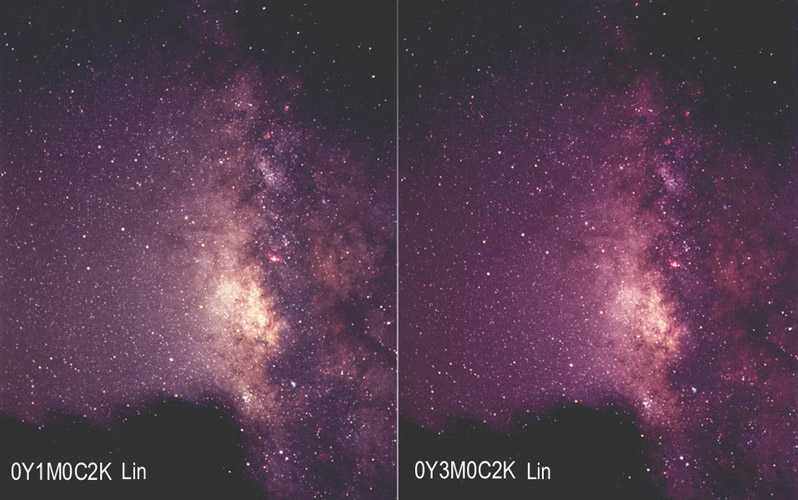
YMagentaCK
 |
|||||||||||||
|
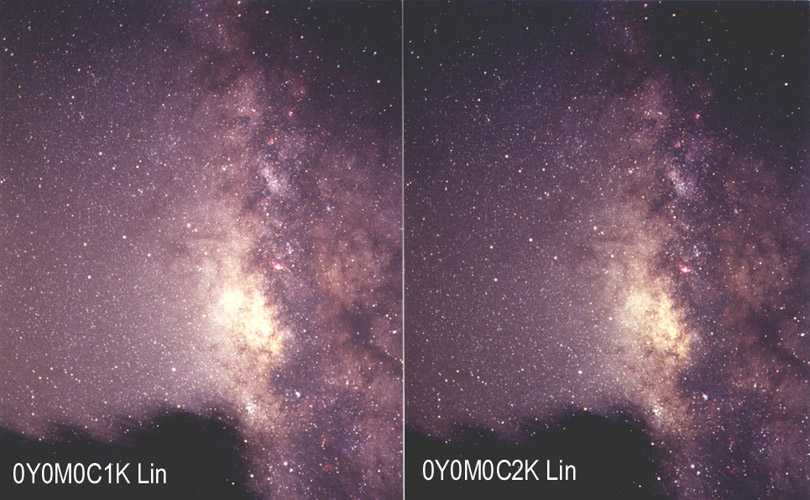
YMCyanK
 |
|||||||||||||
|
YMCKDensity
|
|||||||||||||
|
|||||||||||||
|